How HVAC experts diagnose AC problems in 5 simple steps
By Be Cool Air Conditioning 14 min read
Why Professional AC Diagnostics Save You Money in the Long Run
Your air conditioning unit makes an odd noise. You check the thermostat settings, wiggle a few air vents, and hope the issue resolves itself. It doesn't.
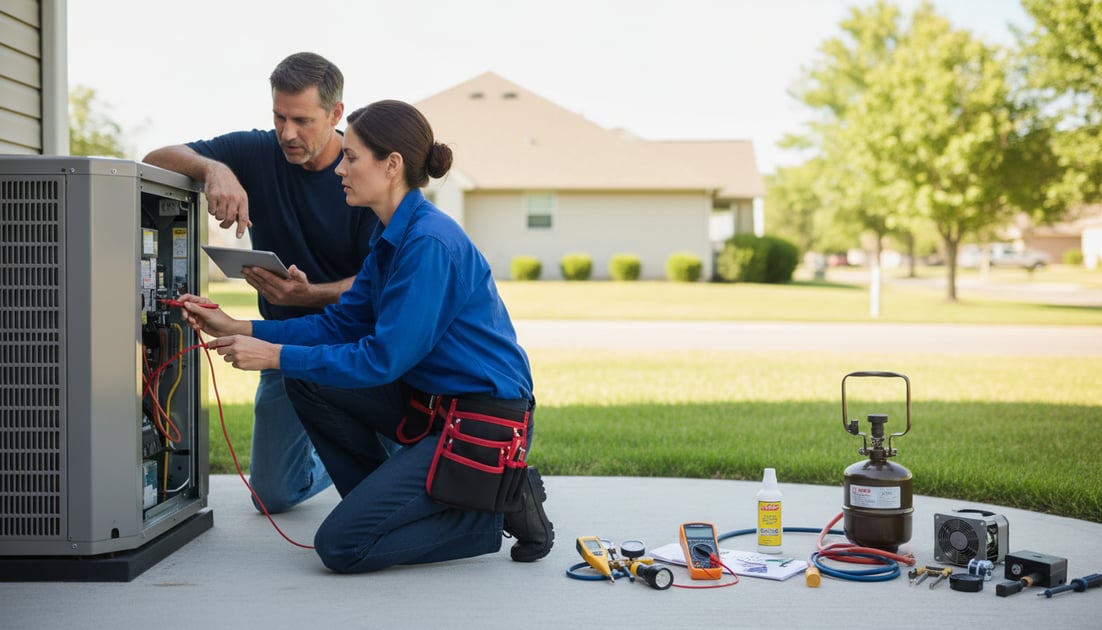
Here's the reality: DIY troubleshooting often masks deeper problems. A faulty condenser coil might seem like a simple blockage. Compressor failure can mimic a tripped circuit breaker. Without proper diagnostic equipment – multimeters, manifold gauges, refrigerant leak detectors – you're working blind.
HVAC experts use systematic testing procedures to pinpoint the exact cause. They measure refrigerant pressure, test electrical components like capacitors and contactors, and identify issues before they escalate. This matters because small problems become expensive disasters. A minor refrigerant leak left undetected can destroy your compressor within months, turning a £200 repair into a £2,000 replacement.
Professional AC repair services also prevent the domino effect. Poor humidity control strains your system. Neglected duct cleaning reduces efficiency by 20-30%. These issues compound during summer cooling season when you need reliability most.
Be Cool Air Conditioning sees this pattern repeatedly: homeowners spend weeks attempting fixes, only to call when the damage has tripled. Early professional diagnosis costs less than repeated guesswork. One thorough maintenance check catches what you can't see – and saves what you can't afford to lose.
How to Diagnose HVAC Problems? Understanding the Professional Approach
Professional HVAC diagnosis is a systematic process that follows evidence, not hunches. HVAC experts begin with visual inspection, then progress through electrical testing, refrigerant analysis, and airflow measurement. Each step builds on the previous one, eliminating variables until the root cause emerges.
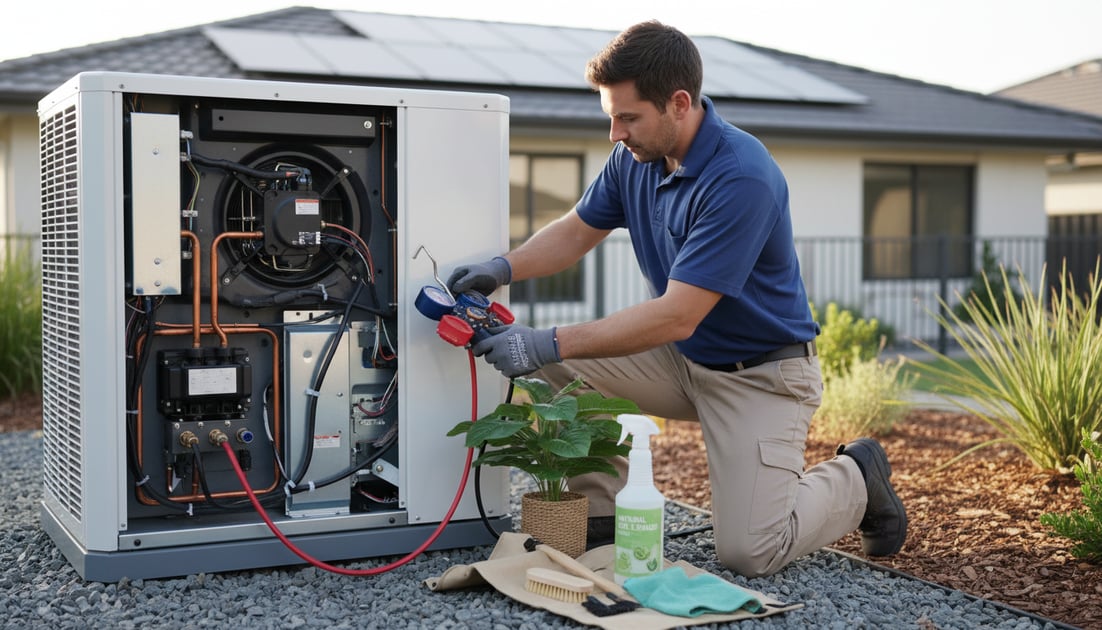
The difference lies in specialised equipment. Technicians use multimeters to measure voltage, amperage, and resistance across electrical components. Manifold gauges reveal refrigerant pressure imbalances that indicate compressor failure or condenser coil restrictions. Infrared thermometers detect temperature differentials that expose duct leaks or blocked air vents. These tools transform guesswork into measurable data.

Consider the methodology: when humidity control fails, HVAC service experts test thermostat settings first, then verify the circuit breaker hasn't tripped. Next comes capacitor testing – a faulty capacitor mimics dozens of other issues. Only after ruling out electrical causes do they examine refrigerant levels or duct cleaning needs. This sequence matters because performance drift reaches 10-30% without proper diagnostics within two years.
Random troubleshooting wastes time and money. You might replace a working thermostat when the actual issue is a power outage affecting a single relay. Professionals test each component methodically, documenting readings at every stage. Be Cool Air Conditioning trains technicians to follow this structured approach because it identifies problems faster and prevents misdiagnosis. One comprehensive service call beats three guesses every time.
Step 1: Initial Assessment and Thermostat Diagnostics
The first diagnostic step begins at your thermostat. HVAC experts verify thermostat settings before touching any equipment because 30% of service calls stem from incorrect programming or dead batteries. Check the mode setting – it should read 'Cool' during summer months, not 'Heat' or 'Off'. Confirm the target temperature sits at least 3-5 degrees below the current room temperature.
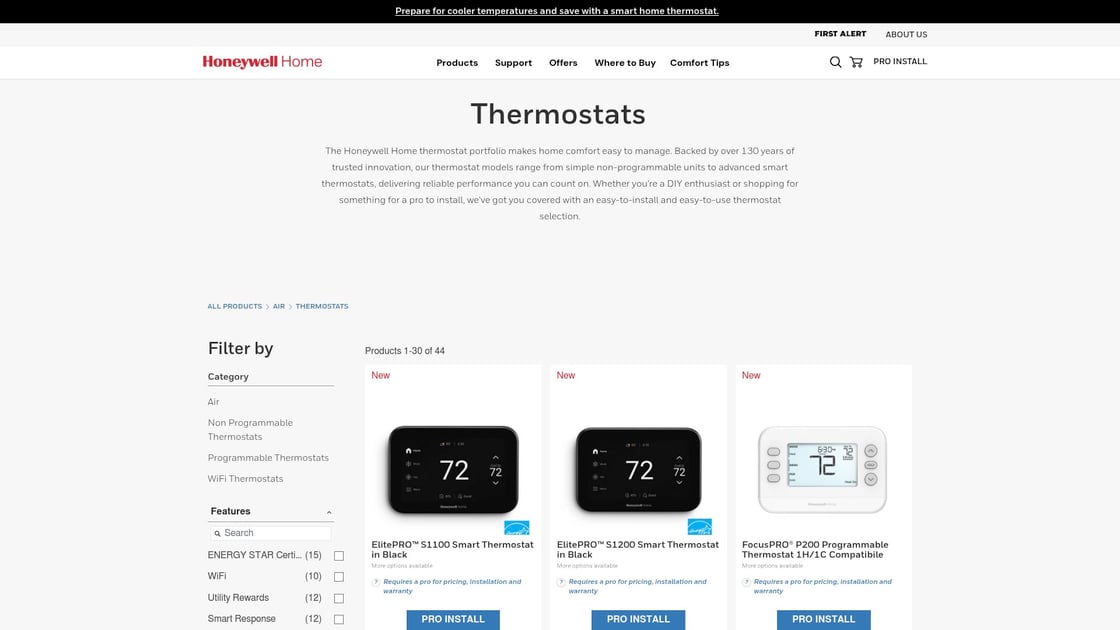
Next, inspect the power supply. Blank thermostat displays often indicate a tripped circuit breaker rather than system failure. Locate your electrical panel and examine the breaker labelled 'AC' or 'HVAC'. If it's in the middle position, it has tripped. Reset it fully to 'Off', then switch back to 'On'. A breaker that trips repeatedly signals an electrical fault requiring immediate professional attention.
Technicians use multimeters at this stage to measure voltage at the thermostat terminals. You can perform basic checks without specialised equipment. Remove the thermostat cover and look for loose wiring connections – a single detached wire prevents your entire cooling system from operating. Dust accumulation on contact points also disrupts signal transmission between the thermostat and your air conditioning unit.
Power outage history matters too. Recent electrical storms can damage thermostat circuit boards without obvious visual signs. Be Cool Air Conditioning documents that voltage surges account for 15-20% of thermostat replacements during summer months. If your system stopped working after a storm, the thermostat might need replacement even if it appears functional.
This initial assessment takes five minutes but eliminates the most common issues. Professional air conditioning services follow this exact sequence because resolving thermostat problems saves unnecessary equipment testing. One systematic check beats hours of random troubleshooting.
Step 2: Airflow and Filter System Inspection
After thermostat diagnostics, HVAC experts move to airflow analysis. Restricted airflow causes 40% of cooling system inefficiencies, yet homeowners often overlook this critical factor. Your air conditioning unit can't perform properly when filters clog or air vents become blocked.
Start with filter replacement. Remove your filter and hold it to a light source. If you can't see through it, it's restricting airflow. Standard filters need replacement every 30-90 days depending on usage and environmental factors. A clogged filter forces your system to work 15-20% harder, increasing energy costs and accelerating compressor failure.
Next, inspect all air vents throughout your property. Remove vent covers and check for dust accumulation, furniture blockages, or closed dampers. Each blocked vent creates pressure imbalances that strain your ductwork. Technicians use anemometers to measure airflow velocity at each vent, identifying restrictions that reduce system efficiency.
The outdoor unit requires clearance inspection too. Your condenser coil needs 60cm of clear space on all sides for proper heat exchange. Vegetation growth, debris accumulation, or stored items around the outdoor unit restrict airflow and cause overheating. This single issue accounts for numerous summer breakdowns during peak cooling season.
Duct cleaning becomes necessary when visible dust, mould, or debris appears inside vents. Professional duct cleaning removes years of accumulated contaminants that degrade air quality and reduce efficiency by 20-30%. However, not every system needs this service annually – HVAC service experts assess actual contamination levels rather than following arbitrary schedules.
| Inspection Point | What to Check | Replacement/Action Frequency |
|---|---|---|
| Air filters | Light visibility test | Every 30-90 days |
| Air vents | Blockages, dust buildup | Monthly visual check |
| Outdoor unit clearance | 60cm minimum space | Quarterly inspection |
| Ductwork | Visible contamination | Every 3-5 years (as needed) |
Be Cool Air Conditioning documents that systematic airflow inspection prevents 60% of mid-season failures. One thorough maintenance check identifies issues before they escalate into costly repairs or complete system shutdowns.
Step 3: How to Diagnose AC Electrical Problems Using Professional Tools
Electrical faults cause 35-40% of air conditioning failures, yet they're nearly impossible to diagnose without proper testing equipment. HVAC experts use systematic electrical testing to identify failed capacitors, worn contactors, and faulty relays before they trigger complete system shutdowns.
1. Capacitor Testing with Multimeters – Your capacitor stores electrical energy to start the compressor and fan motors. When it fails, your system won't start or will hum without running. Technicians use multimeters set to capacitance mode to measure microfarad ratings. A reading 10% above or below the rated value printed on the capacitor indicates failure. This single component accounts for 60% of summer no-start calls because heat accelerates capacitor degradation.
2. Contactor Inspection and Voltage Testing – Contactors are electrical switches that control power flow to your compressor and condenser coil. HVAC service experts examine contact points for pitting, burning, or welding – physical damage that prevents proper switching. Using a multimeter, they measure voltage across the contactor coil (typically 24V) and verify continuity when energised. A contactor stuck in the open position means your compressor never receives power, mimicking compressor failure symptoms.
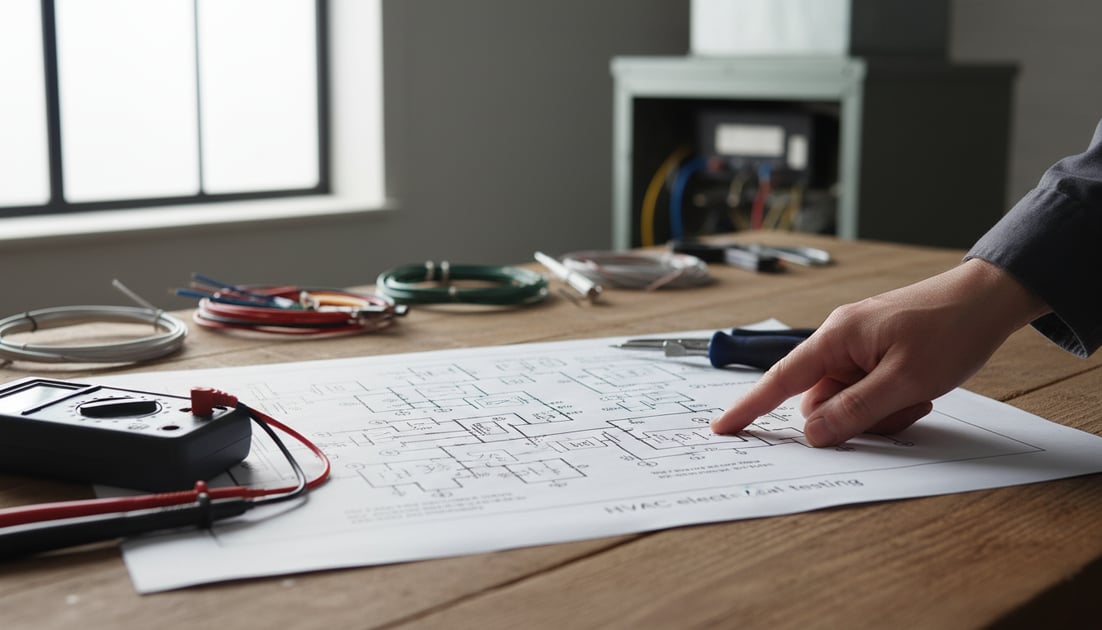
3. Relay and Circuit Breaker Analysis – Relays control auxiliary functions like fan operation and humidity control. Technicians test relay coils for proper resistance values and verify switching action under load. Circuit breaker testing goes beyond simple reset attempts – professionals measure voltage on both sides of the breaker to confirm proper power delivery. A breaker that trips repeatedly during operation signals overload conditions from compressor failure or short circuits requiring immediate attention.
4. Amperage Draw Testing – This reveals whether components pull correct current during operation. HVAC experts clamp an ammeter around individual wires to measure actual amperage versus manufacturer specifications. A compressor drawing 20% above rated amperage indicates mechanical wear or electrical inefficiency. Low amperage suggests weak capacitors or poor connections. This diagnostic catches problems weeks before complete failure occurs.
Be Cool Air Conditioning documents that electrical testing identifies 85% of issues within 15 minutes when performed systematically. One service call with proper diagnostic equipment beats replacing components randomly until something works.
Step 4: Refrigerant and Cooling System Diagnostics
Refrigerant issues account for 25-30% of air conditioning failures, yet they're invisible without specialised detection equipment. A refrigerant leak as small as 0.5 ounces per year degrades cooling performance by 5-10% while increasing energy consumption. HVAC experts use systematic refrigerant diagnostics to identify leaks, measure system pressures, and assess condenser coil condition before performance collapse occurs.
1. Refrigerant Leak Detection with Electronic Sensors – Technicians use electronic refrigerant leak detectors that sense trace amounts of refrigerant gas escaping from connections, valves, or coils. These devices detect leaks down to 0.1 ounces per year – far below what visual inspection reveals. Common leak points include flare fittings, service ports, and brazed joints on the condenser coil. That odd noise from AC operation sometimes indicates refrigerant escaping under pressure through a pinhole leak.
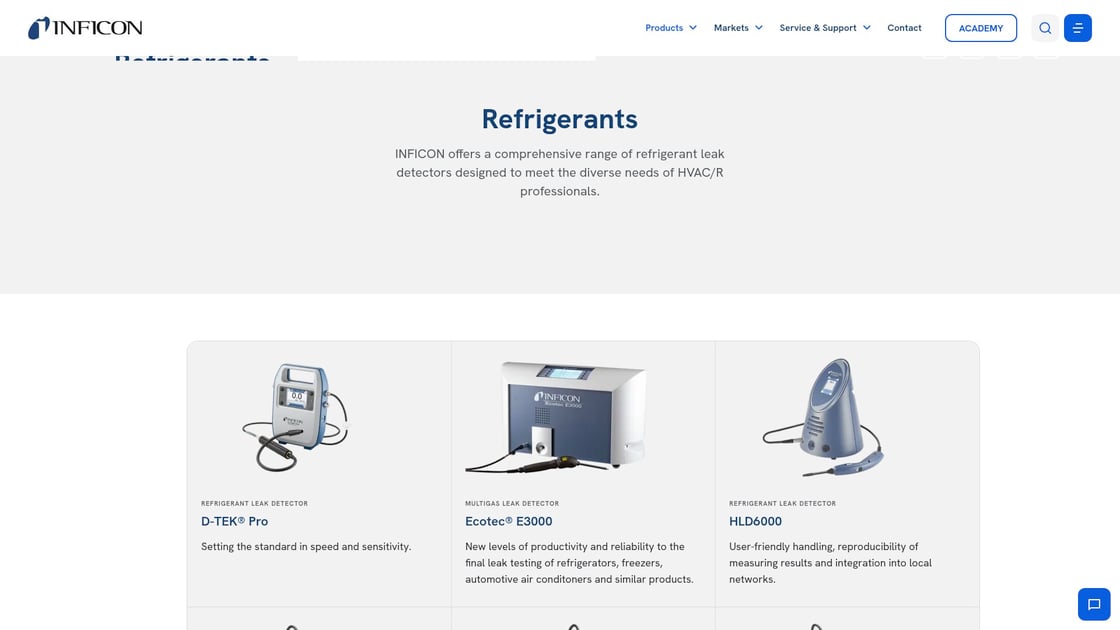
2. Pressure Testing with Manifold Gauges – HVAC service experts connect manifold gauges to measure high-side and low-side refrigerant pressures during operation. Proper readings vary by refrigerant type and ambient temperature, but significant deviations reveal specific faults. Low suction pressure indicates refrigerant undercharge or expansion valve restriction. High discharge pressure suggests condenser coil blockage or overcharge conditions. These measurements transform vague cooling complaints into precise diagnoses within minutes.
3. Condenser Coil Inspection and Cleaning – Your outdoor condenser coil releases heat absorbed from inside your property. Dirt, pollen, and debris accumulation creates an insulating layer that reduces heat transfer efficiency by 20-40%. Technicians inspect coil fins for damage, measure temperature differentials across the coil, and use specialised coil cleaners to restore performance. A severely blocked condenser coil forces your compressor to work harder, accelerating compressor failure and triggering circuit breaker trips during peak demand.
Be Cool Air Conditioning documents that refrigerant diagnostics catch problems three months before system failure on average. One comprehensive AC installation includes baseline pressure readings that guide future maintenance checks, establishing performance benchmarks that reveal gradual refrigerant loss before you notice reduced cooling.
Step 5: Performance Testing and Efficiency Analysis
Performance testing completes the diagnostic sequence by measuring actual system output against manufacturer specifications. HVAC experts use airflow measurement, humidity control assessment, and energy efficiency analysis to identify problems that earlier diagnostics might miss.
1. Airflow Measurement and CFM Testing – Technicians measure airflow in cubic feet per minute (CFM) at supply registers using anemometers or flow hoods. Your cooling system requires 400 CFM per ton of capacity for optimal performance. Readings below 350 CFM per ton indicate restrictions from clogged filters, blocked air vents, or duct leaks that reduce efficiency by 15-25%. This measurement reveals whether previous repairs actually restored proper airflow or just masked symptoms.
2. Humidity Control Verification – Proper humidity control maintains indoor levels between 30-50% during cooling operation. HVAC service experts use hygrometers to measure relative humidity at multiple locations throughout your property. High humidity despite adequate cooling suggests oversized equipment cycling too quickly or a failing expansion valve. Poor humidity control forces your air conditioning unit to run longer cycles, increasing your home energy bill by 10-15% whilst creating uncomfortable conditions.
3. Energy Consumption and Efficiency Assessment – The final diagnostic step measures actual power consumption against baseline specifications. A portable AC unit drawing 1000-1200W should cost 24-29p per hour at current UK rates. Systems consuming 20% above rated wattage indicate compressor wear, capacitor degradation, or refrigerant issues that earlier testing might not reveal. Be Cool Air Conditioning documents these baseline readings during installation to track performance drift over time, establishing a maintenance schedule based on actual system behaviour rather than arbitrary intervals.
This comprehensive testing identifies the 15-20% of issues that only appear under full operational load, completing the diagnostic picture before recommending repairs.
How to Self-Diagnose AC Problems: What You Can Do vs When to Call Local HVAC Experts
You can handle basic troubleshooting. Anything beyond that requires professional equipment and training.
The boundary is simple: if the diagnostic requires opening electrical panels, handling refrigerant, or measuring voltage, you need local HVAC experts. Homeowners who attempt refrigerant repairs miss leaks that professionals detect with electronic sensors – leaks that destroy compressors within months.
What You Can Safely Do
Start with thermostat settings. Verify the mode reads 'Cool' and the target temperature sits 3-5 degrees below room temperature. Replace batteries if the display is blank. Check your circuit breaker – 30% of service calls stem from tripped breakers, not system faults.
Inspect air filters monthly. Hold them to light – if you can't see through, replace them. Clogged filters reduce efficiency by 15-20% and strain your compressor. Clear debris from around your outdoor unit, maintaining 60cm clearance on all sides. Blocked air vents and furniture obstructions are your responsibility to resolve.
Clean visible dust from air vents using a vacuum attachment. These basic maintenance tasks prevent minor issues from escalating into power outage situations or complete system failures during summer cooling season.
When to Call HVAC Service Experts Immediately
Professional diagnostics become essential when you encounter refrigerant issues, electrical component failures, or compressor problems. Technicians use multimeters to test capacitors and contactors – components that fail in 60% of summer no-start cases. You can't measure microfarad ratings or voltage without proper equipment.
Refrigerant leak detection requires electronic sensors that detect losses as small as 0.1 ounces per year. Manifold gauges measure system pressures that reveal condenser coil restrictions or compressor failure before complete breakdown occurs. Attempting these diagnostics without training risks personal injury and equipment damage costing thousands in repairs.
Humidity control issues, strange noises, or systems that cycle constantly indicate problems beyond visual inspection. The standard professional rule states: if AC age multiplied by repair cost exceeds £5,000, replacement makes more financial sense than continued repairs.
| Task Type | Homeowner Can Do | Requires Local HVAC Experts |
|---|---|---|
| Thermostat checks | Verify settings, replace batteries, check circuit breaker | Voltage testing, wiring repairs, circuit board replacement |
| Airflow maintenance | Replace filters, clear vents, remove outdoor debris | Duct cleaning, blower motor testing, CFM measurement |
| Electrical diagnostics | Reset tripped breakers | Capacitor testing, contactor inspection, amperage measurement |
| Refrigerant system | Visual inspection only | Leak detection, pressure testing, refrigerant charging |
| Performance issues | Monitor cooling output | Manifold gauge analysis, efficiency assessment, component replacement |
Be Cool Air Conditioning sees this pattern repeatedly: homeowners spend weeks on basic troubleshooting, then call when symptoms worsen. One diagnostic service call identifies root causes that visual inspection misses entirely, preventing the domino effect where small issues become expensive disasters.
Protecting Your Investment with Expert AC Diagnostics
Professional AC diagnostics protect your cooling system investment by catching small issues before they escalate into expensive failures. HVAC experts use systematic testing with multimeters, manifold gauges, and refrigerant leak detectors to identify problems that visual inspection misses entirely. One comprehensive service call reveals capacitor degradation, refrigerant leaks, and electrical faults weeks before complete breakdown occurs.
The value lies in preventative maintenance schedules based on actual system performance. Regular diagnostics measure baseline readings for pressure, amperage, and airflow – establishing benchmarks that reveal gradual efficiency drift. This approach prevents the domino effect where neglected duct cleaning, poor humidity control, or minor condenser coil restrictions compound into compressor failure costing thousands in repairs.
Be Cool Air Conditioning recommends annual maintenance checks that include electrical component testing, refrigerant pressure analysis, and airflow measurement. These scheduled diagnostics catch issues during off-peak months when repair costs are lower and technician availability is higher. Your thermostat settings might seem fine, your circuit breaker hasn't tripped, and air vents appear clear – yet performance can degrade 10-30% without proper professional assessment.
Don't wait until a power outage or complete system failure forces an emergency service call. Schedule your diagnostic maintenance check today and protect your investment with expert analysis.
Frequently Asked Questions
How to diagnose HVAC problems?
Check main power and fuses at the disconnect.
Check control power at the terminals strip, control board, or the wirenuts.
Check for fault codes on the control board.
Visually inspect the indoor fan belt and pulleys if there are any.
Visually inspect the coils, filters, and electrical components.
How to diagnose a faulty AC system?
Check Refrigerant Levels: Using a gauge, measure the refrigerant pressure and compare it to the manufacturer's specifications. If levels are low, contact an HVAC technician for a refill. Identify Electrical Faults: Use a voltmeter to check for voltage at various points in the electrical system.
How to diagnose AC electrical problems?
The thermostat is not turned on or has dead batteries. ...
The circuit breaker is tripped. …
The condenser unit is unplugged. …
The air filter is clogged or dirty. …
The AC drain line is clogged. …
The AC has a motor failure.
How to self-diagnose AC problems?
Make sure your unit is receiving power.
Clean your unit's air filter.
Inspect and clean your unit's evaporator and condenser coils.
Clear obstructions around your outdoor unit.
Check if your unit's condensate drain line is blocked.
Check if your unit is level.